


Shortly after creating this video, the Bricks Builder team released an update that included an API for adding custom conditions to the builder. In no time, developers of Bricks extensions such as Bricks Extras and Bricksforge added language conditions to their products. But if you don’t own any of them and want to learn how to create Language Basic conditions natively inside Bricks Builder, keep reading! 🤗
In this video tutorial, I will show you how to hide or show different parts of your pages using language based conditions in Bricks Builder. This tutorial is part of our YouTube playlist called “Bricks Builder Basics,” where you will find a series of videos on how to accomplish the most basic tasks using our favourite WordPress builder.
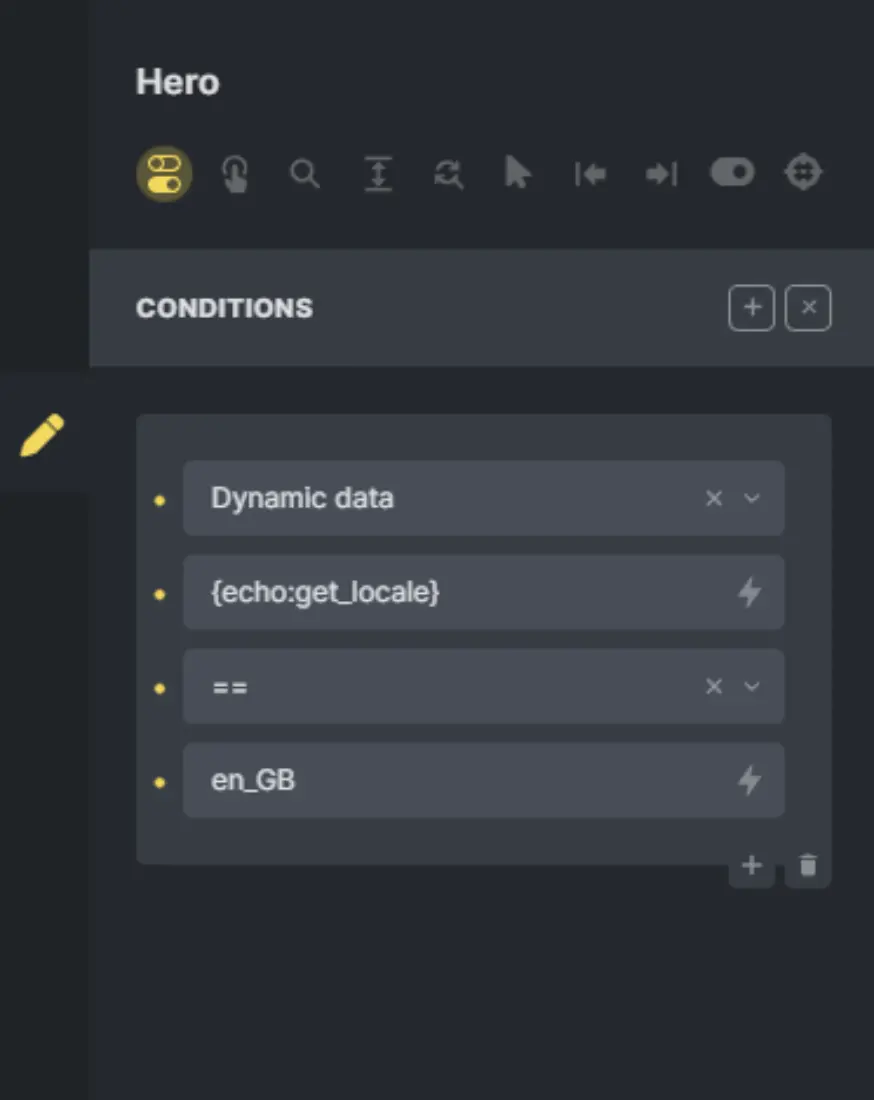
Language based conditions allow you to dynamically show or hide content on your website based on the user’s language preferences.
This is a step-by-step tutorial, but from 1:56 to 2:26 you have the very fast version in case you are familiarized with Bricks and you don’t want to see the slow paced version coming just after it 🪄
Text version of the tutorial
If you prefer a text version of the tutorial, simply follow the steps outlined below to load the template sitewide with Bricks Builder.
Support our content
If you find the tutorial helpful, you think that the work that I do is important and want to support my channel so I can keep creating content, or even create tutorials more often, please consider a contribution via Buy Me a Coffee